Monday, October 3, 2011

Pasta with Pesto Cream Sauce

I haven't been cooking very much since moving home (every time I say this I also include TEMPORARILY.) I don't want anyone to get the idea that I'm staying here very long. My mom makes me dinner most nights...(I know I'm spoiled) haha...but I also spend my entire life studying. If I had any friends before this semester started- I certainly don't anymore because I have no social life. I did make this little dish over the weekend. The original is from Ree. She's wonderful. And no I don't know her personally, but I like using first names.

I switched up a few things as you will see if you check out the original recipe. If you decide to make this I encourage you to go off of her's as well. I like to mix it up a little....and I made a smaller amount. Here's what I used:

-1/4 cup fresh basil (I'm growing my own herbs right now- it's so fun....except I keep forgetting to water them...ooops)
- 1/4 cup parmesan cheese
- 1 clove garlic
- olive oil to taste
- 1/4 c heavy cream
- 1 tbsp butter
- any kind of pasta noodles you want ( I used egg noodles because I LOVE them, but she suggests fusili/cavitappi/etc)
- 1 tbsp pesto (she made her own...but I didn't feel like buying pine nuts...I know I'm lazy)
- grape tomatos diced
-1/4-1/2 lemon (squeezed in)
- white wine to taste...in a glass too if necessary


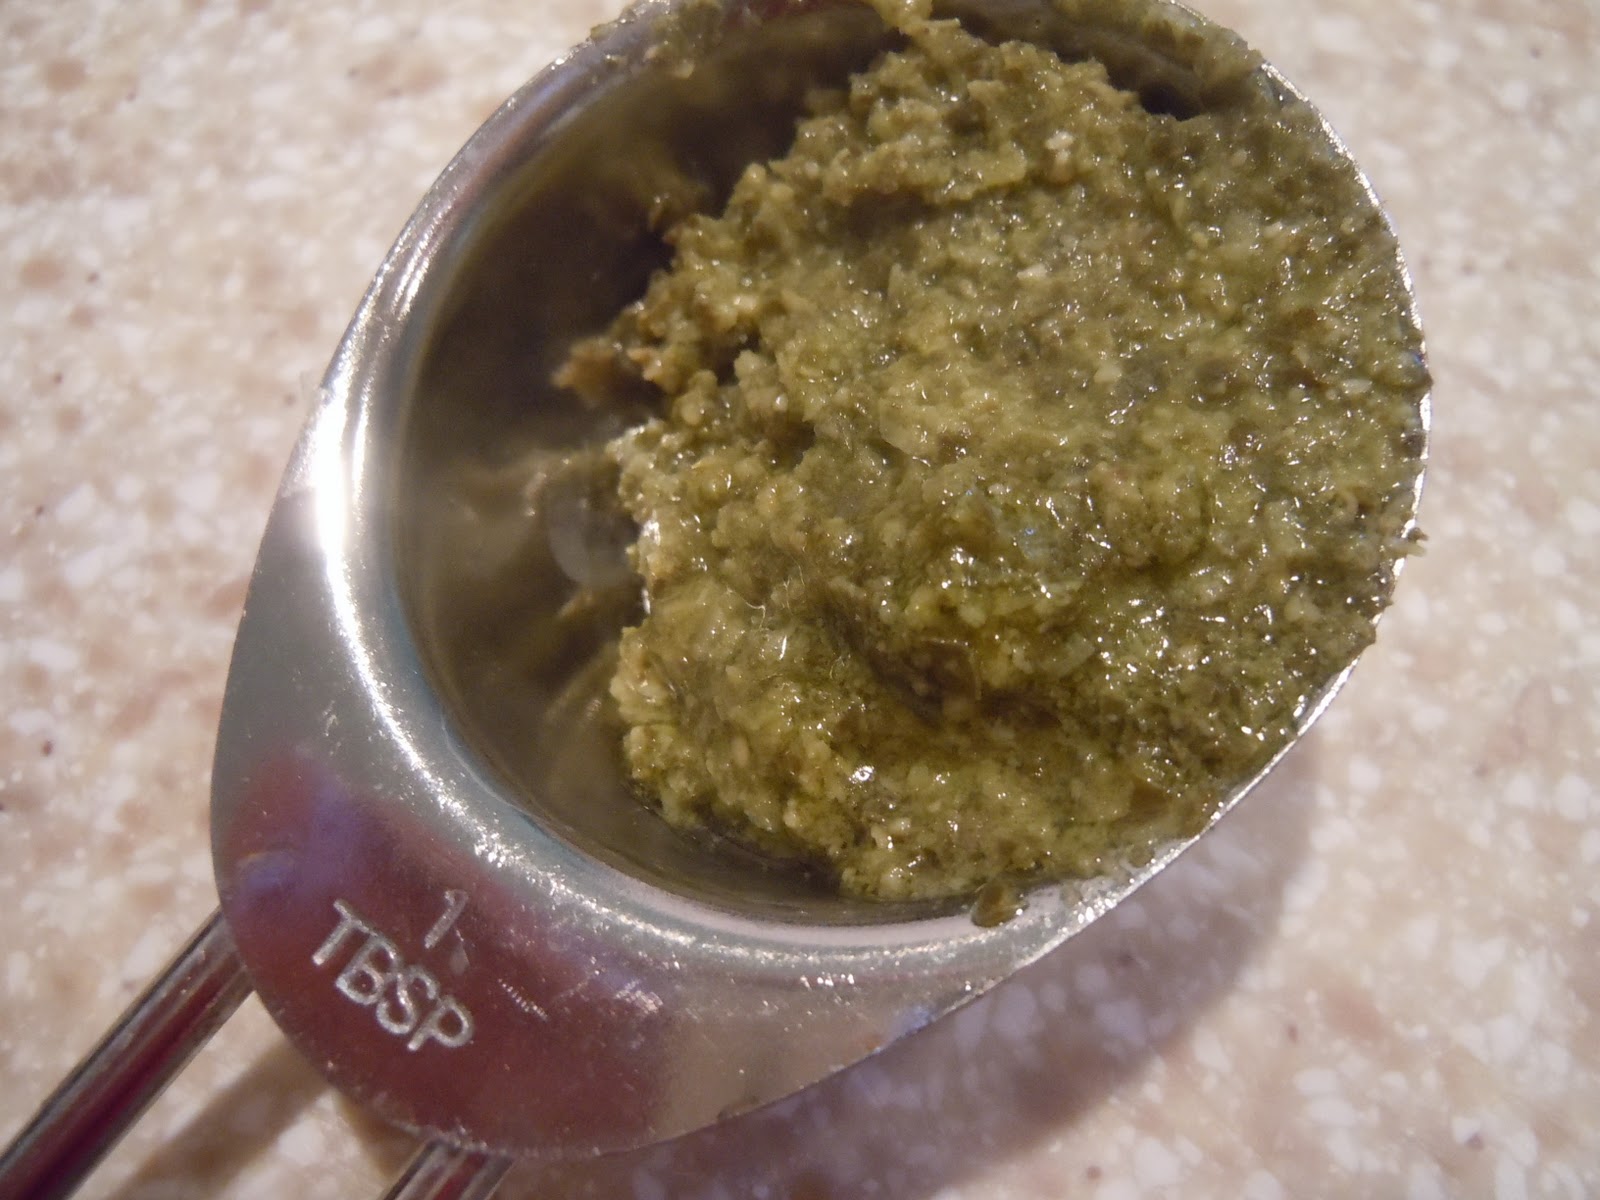
(sorry this is not an aesthetically pleasing picture--pesto is deeelicious though)

OK- so after you chop your basil and slice up your grape tomatos, boil some water in a pot and throw your pasta in there when it's ready. While that's going.....


Put your cream and butter in a skillet and turn the heat to medium-high. A few bubbles are good, but not too many. The little gadget I'm using is a garlic press. If this garlic press was a person it would be my boyfriend. Because I love it- and I will never stop. We have an eternal bond. However, if you don't have a cool garlic press like me, you can just slice it up very thin and throw it in. After adding your pesto and basil let the sauce cook for a few minutes until it's well heated and the butter is melted.
Then squeeze in some lemon. Yumm. Lemon is good in pretty much anything.

Add your tomatos. Pour some wine in there too. Let it mix for a few minutes with the heat turned down to low.


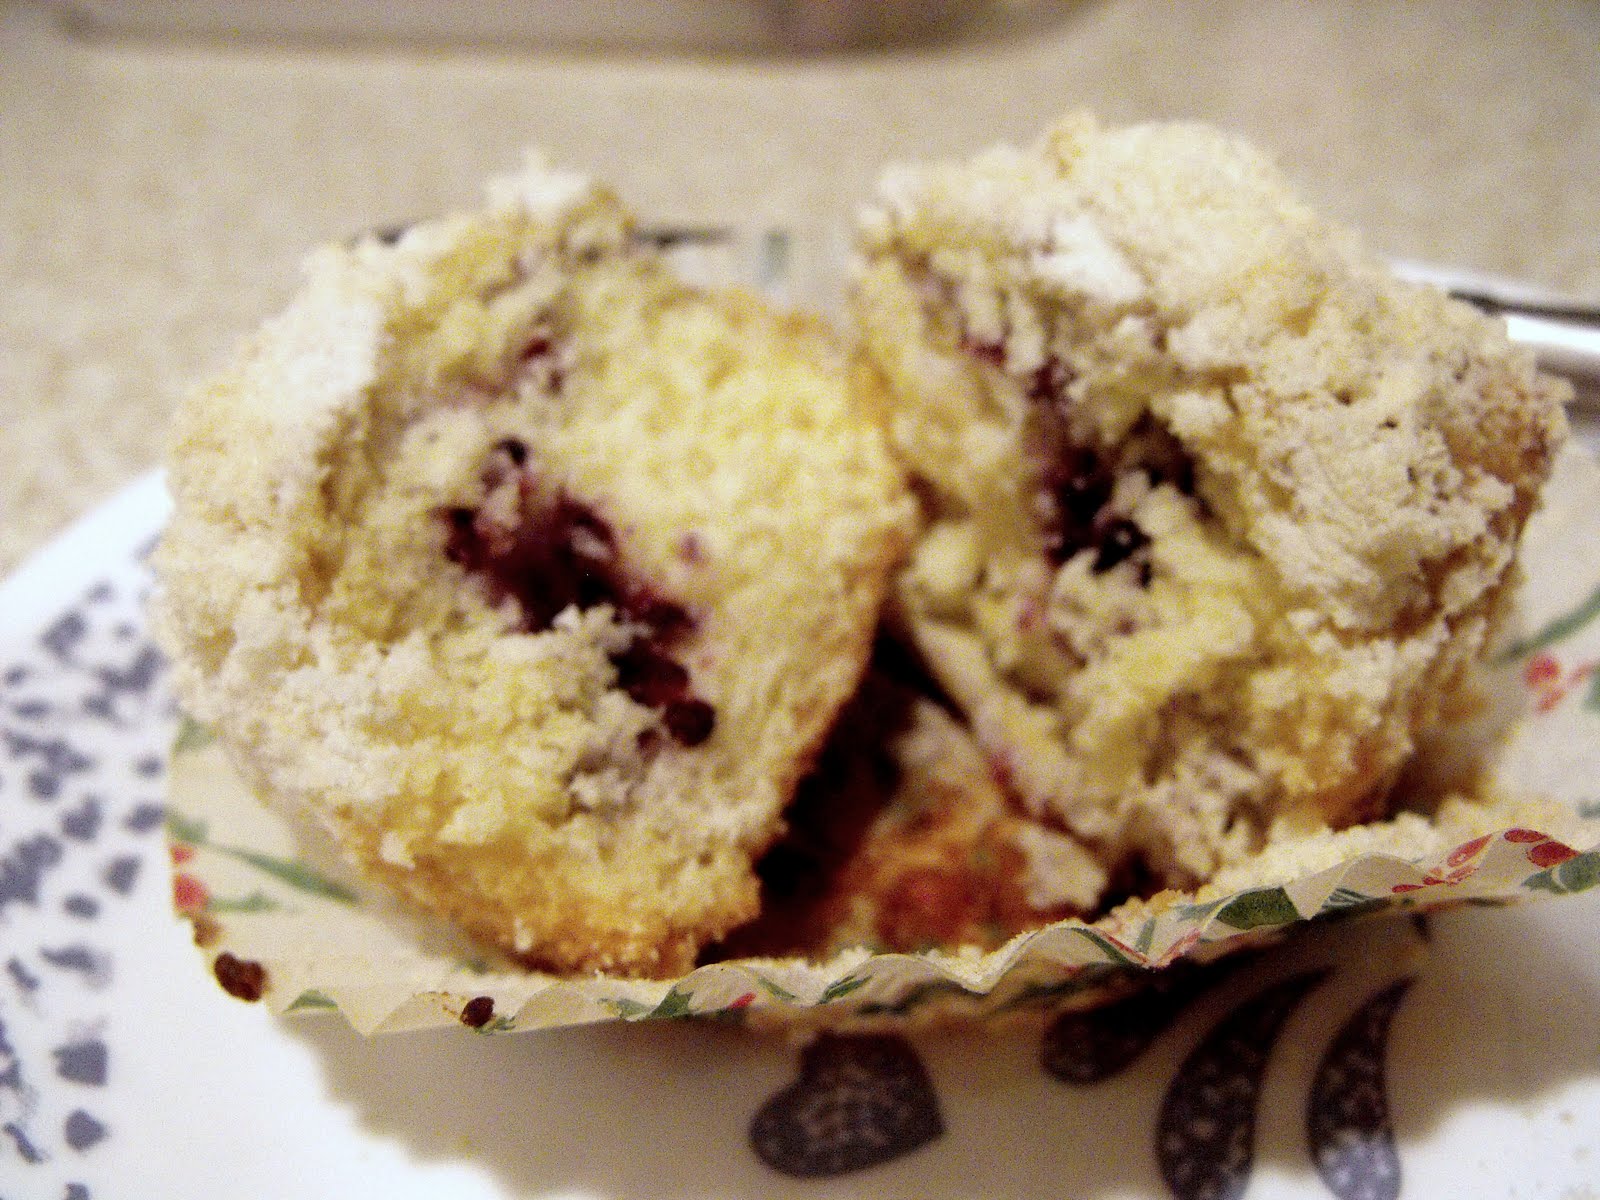
And wa-la. The egg noodles weren't the prettiest choice (I'm also not a very good photographer!) but they tasted great.
I think next time I make it I'll add some black olives and shrooms. The legal kind of course.

Thursday, August 25, 2011

Easy/Fast/Healthy/Yummy/Simple

Don't really know what to call this because I made it up. I was rushing to see a friend before my night class a few days ago and needed to make something to eat really fast. I've been trying to avoid fast food, so I dug in the fridge and pantry until I found stuff I could work with.

I'm kind of a weird person, in that I like to see how delicious of something I can make with minimal ingredients. I challenge myself to get creative and see what I can come up with. Most of the time  Every now and then I'm successful.


Here's all I did:

First I made some couscous. So light and delicious. The best part is it only takes 5 minutes to cook. I have a bad reputation for cooking rice, meaning..well...I just suck at making rice, ok? So couscous is perfect for me because it's a lot more difficult to mess up.
Then I sauteed some veggies. I heated olive oil in a pan and sprinkled my veggies with Tony's. I also added a tiny bit of butter as well. We had bell pepper and zucchini, so those are the veggies I used. Definately would've added broccoli, squash or onion if I did it again. I reheated my steak and sauteed that in the pan with my veggies for a few minutes too.
When everything looked cooked, I put my couscous in a bowl and put everything else on top. (As if you couldn't figure that out from my picture....sorry.) I tend to eat things from a bowl more than from a plate, if possible. Just my preference.

Overall it was really good. A great thing to make if you are trying to watch what you eat. Of course- you could make this 10X more difficult and expansive....but this is the way to go if you are trying to run out the door like I was.

Saturday, August 20, 2011

Lemonade Pie FAIL

I'm posting this so next time I try to make this particular pie, I won't make the same mistake twice.

Lemonade pie is delicious. Tart, sweet, cold. So good....especially in this Texas heat. I followed my mom's recipe and was super pumped for my family to try it. I did everything right (it's not very difficult to make), but to my horror my pie didn't solidify very much. In the words my little brother used, "thanks for the pudding, Tara." See what I'm working with here? Rude people.

Fortunately, I have discovered the root of my pie problem. I was asking my mom what I could have possibly done wrong, and she asked how much frozen lemonade I used. The recipe card said, "one small can of lemonade" but as far as I knew, frozen lemonade only comes in one size. She told me that in the "olden days" (like the 90's..HAHA) lemonade also came in half sizes. So instead of using a regular sized can of lemonade, I should've only added half. It was a relief that technically it wasn't my fault. Ignorance is bliss. Sooo....here's my lemonade "pudding"...


                                                                        Exhibit A


WAAAAAAAAAAAA


It was delicious though. I will give myself that. If you decide that you want to make it the proper way here is what you will need:

- HALF a regular sized can of pink lemonade
- 1 can sweetened and condensed milk (14 oz)
- 1 medium container of cool-whip
- 1 graham cracker crust
Let your lemonade defrost and mix everything together with a hand mixer. Pour into your pie crust and let it refrigerate for 3-4 hours.

Hope yours turns out better than mine! :)


Tuesday, August 9, 2011

Beef....its whats for Supper

Soo...things have been a little crazy the past few weeks. I packed up all my worldly possessions, finished up my practicum, ended my job, graduated from college....and moved home. Yep. I know. O woe is me that I have to live with my parents. Seriously though...I miss Lubbock so much. I hope I can do it. The reason for it is that I was such an overachiever that I graduated college in 3 years, and OT school doesn't start until next summer. So I have a year to retake classes that I didn't do so well in and boost my GPA. Then maybe the OT school gods will be happy and take me. When I lived in my apartment, we weren't allowed to have grills. Since I'm at home I'm definately taking advantage of the grill because the best foods come from the grill......or maybe the crockpot. That's a tough one.

Anyways, I've recently become fascinated with all the different cuts of beef. That is so nerdy....but I really just want to learn all about them and how to cook each type. Look at this awesome picture I found!

Maybe I am the only person in the world who thinks this picture is remotely awesome. But I do not care. So hopefully I'll get organized and make some delicious beef while I'm at home and share it here. It's going to be difficult because why should I cook when I have......my mother. I just have to keep reminding myself that Alice from "The Brady Bunch" doesn't exist and eventually I will have a bunch of snot-faced children who will want food three times a day...not to mention their father. Heavens.


Me and the parents

My good friend Emily and I

Saturday, July 16, 2011

Stir Fry

Stir Fry is a "make it your own" type of dish. You can literally put whatever you want in it. Don't go around telling people I said weird stuff like nutella or grapefruit would taste good, but I'm just saying....don't feel you have to be confined to normal stir fry veggies. You also can use shrimp or beef instead of chicken. Here's how I made MY stir fry. Also- the portion size is for one person. I was just making this for myself. I definately had leftovers though.


Let your chicken marinate for at least 15 minutes. 30 minutes is ideal. You can use any kind of stir fry sauce, but I used the Kikkoman brand. It's really good and you can buy it at pretty much any grocery store. I also sprinkled garlic powder, cayenne pepper and cajun seasoning on it. (Yes- I used cajun seasoning while making asian food. I'm trying to be more multi-cultural...even in my cooking.)

Chop up yo veggies. I chose carrots, green onion, and broccoli. These are my personal favorites.

Add about 1 1/2 tbsp of oil to a pan (or wok if you have one- I sadly do not.) Chop up your chicken and throw it in there first. Add about 2 gloves of minced garlic and let it cook on medium-high heat until the chicken is almost done to your liking. You can add your veggies before the chicken is completely cooked.
Now throw all your veggies to the pan as well as more of your stir fry sauce. I'm terrible about measuring out things (ask Amy- it drives her NUTS)..anyways...I didn't measure how much stir fry sauce I put in. As you can see I just drizzled it over the top until I thought it looked good. haha Add a little bit of soy sauce too!
Let your veggies, chicken and sauce mix for about 10-15 minutes. It really does not take very long. I turned the heat down after my veggies were almost soft, put the lid on, and left it alone for a few minutes. I served mine over white rice. Brown rice works too of course.

Stir fry is vedy vedy good. You try soon?

I'm sorry for any people of asian descent that I just offended by that statement.

Sunday, June 5, 2011

Shredded Chicken Tacos

These tacos were mouth-watering good. Even 24 hours after I made them, I was still thinking about how delicious they were. For a healthier option, you don't have to fry your taco shells, but let me tell you- it increased their delicious factor by about 4000 points.

The spices you'll need:

1 teas. salt
1/3 teas. pepper
1/2 teas. garlic powder
1 tsp. cajun seasoning (Tony's is what I used of course)
2 teas. chili powder ( I didn't have any chili powder so I put in a little more Tony's to make up for it...if you have some use it)
1 teas. dry oregano
1/4 teas. cumin powder
1/4 tsp cayenne pepper (this also wasn't in the recipe I found online, but it added a nice little kick)

You'll also need:

1 1/2lbs. boneless, skinless chicken thighs ( about 4-5 )

4 cups water
corn tortillas
sliced tomato, lettuce, cheese, guacamole, salsa (whatever toppings you want)
toothpicks

**Sidenote: When I made these I halved the recipe so if you aren't cooking for more than about 4 people, you could probably cut everything in half.


 Put all the ingredients into a pot or skillet and let everything boil for about ten minutes. After ten minutes, turn down the heat to medium low (you just want the waters slightly bubbling) and put the lid on. Let it simmer for 30 minutes. After 40 minutes you should be able to cut your chicken easily with a spatula or fork.

While your chicken is cooking, you can get your tortillas ready. Fill a skillet with about 3/4 in. oil and turn your heat to medium high. Let your tortillas cook on each side for no more than 10 seconds You are just making them pliable at this point.

Yumm. Looks like our chicken is almost ready. After this picture was taken, I think I gave it about 5 more minutes. You want most of the water gone.

Take one of your tortillas and put some of your chicken inside. Take two toothpicks and use them to bind the top of your tortilla as shown below.

Let your taco fry for about a minute on each side. Be careful because that oil will fly up and getcha if you don't stay out of its way. You can fry it for more or less time depending on how hot your oil is.

After each side looks pretty crunchy, take your taco out of the oil.
 

Take out your toothpicks and put in whatever toppings you want. I vouched for tomato, guacamole, salsa and cheese. Another great thing about the chicken in this recipe was that it was actually even BETTER the second day. Enjoy!

Wednesday, May 18, 2011

Browned Butter Blueberry Muffins (w/ Dewberries!)

Dewberries are everywhere in East Texas. I know I've already blogged about them once, but I'm a little obsessed. They're delicious and I feel kind of like Laura Ingalls Wilder when I bake with them. Living off the fruit of the land...literally. Anyways, this is Joy's recipe. I don't actually know Joy, but after reading her blog, you feel like you are on a first name basis. She's great...and so are her recipes.

The only problem I have here is that my camera battery died, and being the almost-college graduate that I am, left the charger in Lubbock when I went home. My mom has a great camera, but she left it in her classroom the day I baked these. I'm sure you are like, "Nobody cares, just get to the muffins please" but I figured I should explain why I only have one picture. If you get a hankerin' for muffins, bake these. You can of course use blueberries, but if you live anywhere in the South you can probably find dewberries growing on the side of the road. :) Just make sure you wash them first.

Here's what you'll need:

7 Tablespoons unsalted butter


1/3 cup whole milk (I used 2%)
1 large egg

1 large egg yolk (just crack it open slightly and let all the white filter out. You can pass the yolk back and forth between the two sides of the egg shell until all of it's gone.)

1 teaspoon vanilla extract

1 1/2 cups all-purpose flour

3/4 cup sugar

1 1/2 teaspoons baking powder

3/4 teaspoon salt
2 cups fresh blueberries (I used one cup of dewberries)


For the Topping

3 Tablespoons cold, unsalted butter, cut into 1/2-inch cubes

1/2 cup all-purpose flour

3 1/2 tablespoons sugar

Put your oven rack on the top third of your oven. This will ensure that your muffins have that delicious-slightly crunchy top. Preheat oven to 375.
Melt your butter in a small saucepan on medium heat. It will crackle for a while. It isn't ready until the bottom of the pan turns slightly brown and the crackling slows. Remove from the heat before it burns.
Whisk your milk, eggs, and vanilla until combined. Add the "brown" butter.
In another bowl, whisk the flour, sugar, baking powder and salt. Add the milk/ butter mixture all at once and stir until combined.
Fold in your blueberries/dewberries. Since dewberries are pretty fragile, they might be a little runny. Don't worry too much about it. Just make sure your batter is stirred well enough.
Line your muffin tin with liners. Spread the batter evenly.
For the topping, just combine the above ingredients with your hands You'll have to get a little messy! Sprinkle the topping on the muffins.
Bake your muffins for about 18 minutes. Use a toothpick to see if they're ready.


I don't know if you can tell from the pictures, but I had to make these using Christmas liners. It was all we had in the pantry, and I was too lazy to go to the store. haha Merry Christmas.